0345 363 1130
 info@xchangetraining.co.uk


Beginners Guide to Starting out in Video Editing
It’s estimated that by the end of 2017, 74% of all web traffic will come from video; and 55% of people watch videos online every day. With so many consuming video content each day already, it’s no surprise that it’s set to take over other forms of content on the web.
52% of marketers think video is effective for brand awareness, with 52% also citing video as the type of content with the best ROI.
It’s also estimated that 50% of consumers will watch a video relating to a product or service before visiting a store, proving that if you want to educate an audience, inspire them to make a purchase or raise brand awareness, video is the platform to do it.
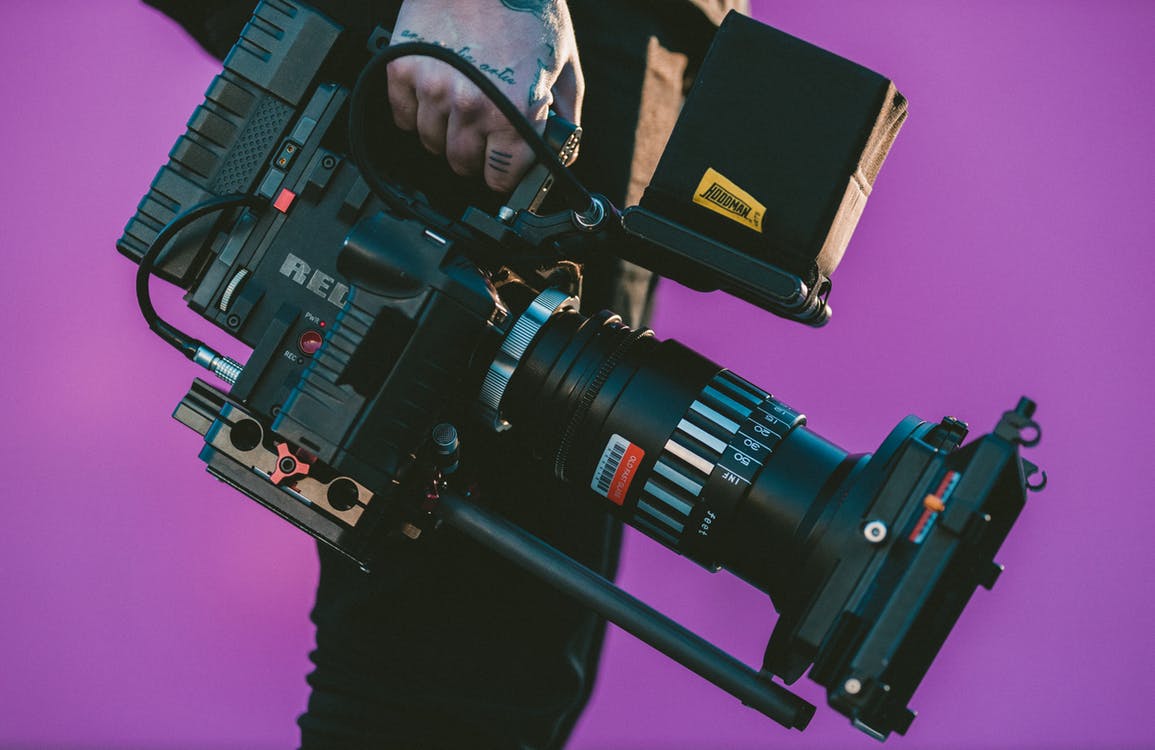
While you may think a video is easy to put together – you’ve only got to take a few shots and piece them together right? You shouldn’t be fooled. Editing videos is an artful skill, requiring lots of practice and patience.
We’ve put together a guide on how to edit your videos, so whether you’re a beginner or already have a few tips under your belt, hopefully you will feel inspired to make video a priority for your business.
Preparation
There are a number of software editing tools that you can use when creating your video, with each coming with different price points and features. If you’re just starting out, then you could use a free editing tool such as Movie Maker or iMovie, which are already installed on PCs and Macs.
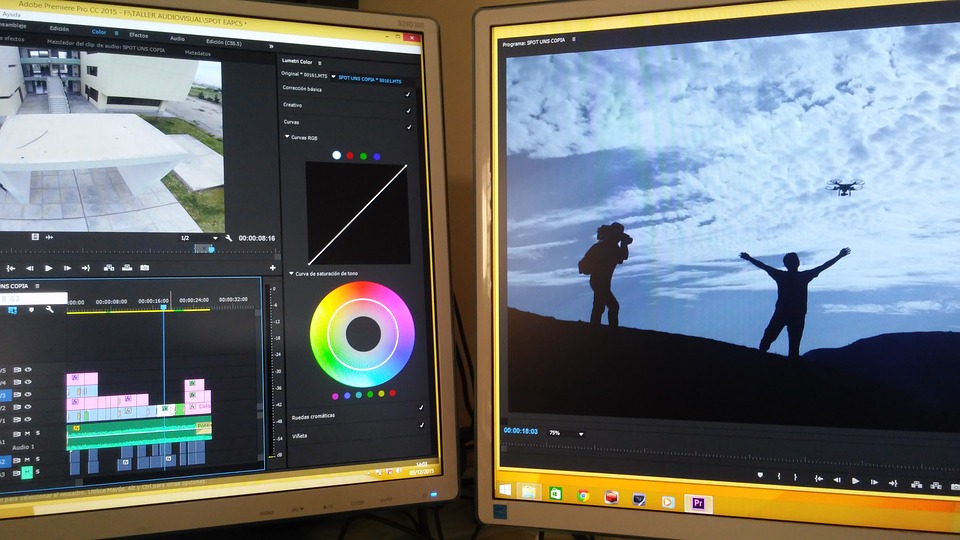
Other tools include Adobe After Effects CC which can be used to create animations and 3D work, Adobe Premiere Pro CC which can be used to organise, manipulate and export digital video clips, and Davinci Resolve which aids colour correction and non-linear editing. While these tools may be for more advanced video professionals, an editing course can get you up to speed with how these tools can be used.
There are a number of online tutorials which can guide you through the editing process once you have chosen your editing suite.
You’ll also need to ensure that there is enough space on your computer to store your video files, as these can take up a lot of room on your drive, it may be best to purchase an external hard drive. Likewise, check that you have the right USB or connectors to connect your equipment to your computer.

Importing your footage
You can import footage in one of the following ways:
- Log and capture is where you will connect your camera to your computer, and log the ‘in and out’ points for each clip. Once you have done this, you can import your clips to your video editing software.
- Log and transfer requires you to use a card-based camera, and you will be able to view the clips on your card in the log and capture panel. You are able to name them, add metadata and import them.
Finally, it is possible to add your footage without logging it.
Terminology basics
File browser – this may also be called an asset browser or something similar. Video, audio, images and motion graphics can be imported into a file browser, which you can order into separate folders if you wish. You can create sequences which store edits and are then exported to your format of choice. Sequences can contain other sequences, which is how you end up with a full-length video.
Viewer – this is what allows you to view clips and make edits to them globally (i.e., everywhere). Once you open a clip in the file browser, it will appear in the viewer. An ‘in and out’ point for that clip is set, which allows you to edit the length of the clip and add it to the timeline. It’s worth keeping in mind that what happens in the viewer is reflected elsewhere, and what happens in the timeline only stays on the timeline. The majority of the edits you make will be made in the viewer.
Timeline – this is where you edit your clips. These can be added to the timeline in the order that you choose, and can then be layered with audio to play simultaneously. The tools you use will consist of an arrow – to pick stuff up and move it – and a blade – to make cuts.
Canvas – this is the frame you’re editing and how it currently looks.

Exporting your footage
You’ve finished your video and are ready to see the finished product, so it’s time to export your footage. This is relatively simple and will involve you selecting file and then the export option in most software applications. It may also be named QuickTime conversion or something similar.
You may also need to compress your video; this can be quite technical if you are designing your own encoding specification. However, we’ve listed the key terms in laymen’s terms, in case you want to consider this further.
Compression – this is where you compress a video, so it takes up less disk space. This involves using different codecs and file formats so that a range of different media types can play the video.
Bit rates – this is how much data is used per second of video. Constant bit rate encoding is often used when media is streamed to keep the video consistent, whereas variable bit rate encoding is used when data is downloaded.
Key frames – these are the key frames which are at the beginning and end of the frames in between. Put simply, if you had 20 frames, only frame one and frame 20 would be classed as key frames. If key frames are frequently used, the quality of video tends to be lower.
The encoding specification that you require is determined by how your video is to be delivered or displayed. If it’s for a website, then it will need to target the slowest broadband connection speeds as a minimum. If it’s to be uploaded to YouTube, for example, this will be re-compressed according to their set standards.

When exporting and encoding your video, it’s worth remembering that this process is designed to compress your video to a watchable size. So, if your video is of poor quality before it’s been edited, then once it has been compressed it will often look worse. The higher the quality of video, the better the encoded version will look.
Understanding the basic terminology associated with software packages and the processes you will need to take when editing a video will give you a greater knowledge of how to begin creating your film. While you can teach yourself some of these skills to a certain degree, lessons from a professional will enable you to have a greater grasp of the software package you are using and improve your editing skills tenfold.
To develop your knowledge in Video Editing explore the range of Certified Video training courses or view the specialist courses in individual video applications with Adobe Premiere Pro, Adobe After Effects and Davinci Resolve for which we offer training in London, Manchester, Glasgow and onsite UK wide.